Payment Record ID
Batch
This field is visible on a new payment. Enter the name of the batch of AP payments to associate the payment with. The default batch is the batch name from the last payment entered. Batches are used to select groups of payments for proofing, merging, or deletion.
Batch - #
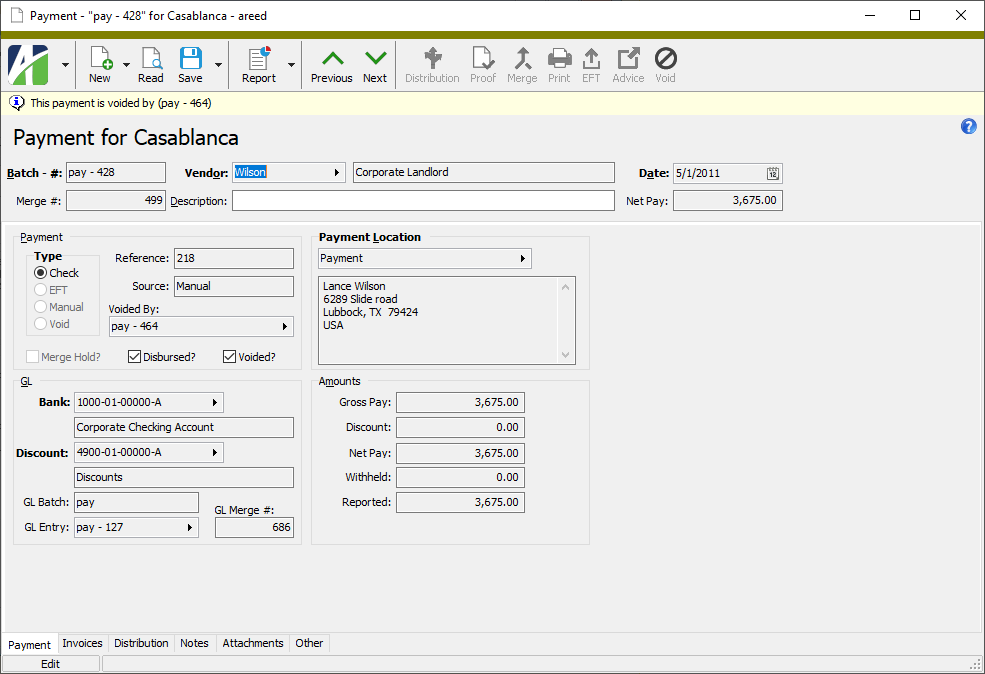
This field is visible after the payment record is saved. This field displays the batch name and entry number of the payment.
Entry #
This field is blank and disabled when you enter a new payment. When you save the new payment record, ActivityHD generates the next sequential number for the batch and loads it in the field. If you need to manually assign an entry number to the payment, you can press Ctrl+Alt+U or select  > Tools > Unlock Entry # to enable this field for data entry.
Merge #
The merge number. This field is visible after the payment is merged.
Vendor
> Tools > Unlock Entry # to enable this field for data entry.
Merge #
The merge number. This field is visible after the payment is merged.
Vendor
The vendor that is being paid.
Press F3 to look up the value.
If a value is already selected, you can press F4 to open the record in its native editor.
Description
A description of the payment.
Date
The date of the payment. The default date is the current date. The payment date is used to calculate the available discount, backup withholding, and the GL posting date.
Net Pay
The net payment amount to the vendor. ActivityHD uses the following formula to calculate the net payment:
Net Pay = Gross Pay - Discount - Withholding
Payment tab
Type
The payment type determines how the net payment amount is disbursed to the vendor. Select the payment type. Your options are:
- Check. Disburse the payment by printed check. You must disburse the payment before you can merge it. The Reference field is set to the check number when the check is printed.
- EFT. Disburse the payment by electronic funds transfer (EFT). The Reference field is set to the ACH batch name when the payment is generated.
- Manual. Record a disbursement by manual check that has or will be sent to the vendor outside of ActivityHD. Use the Reference field to record information about the manual payment such as the check number.
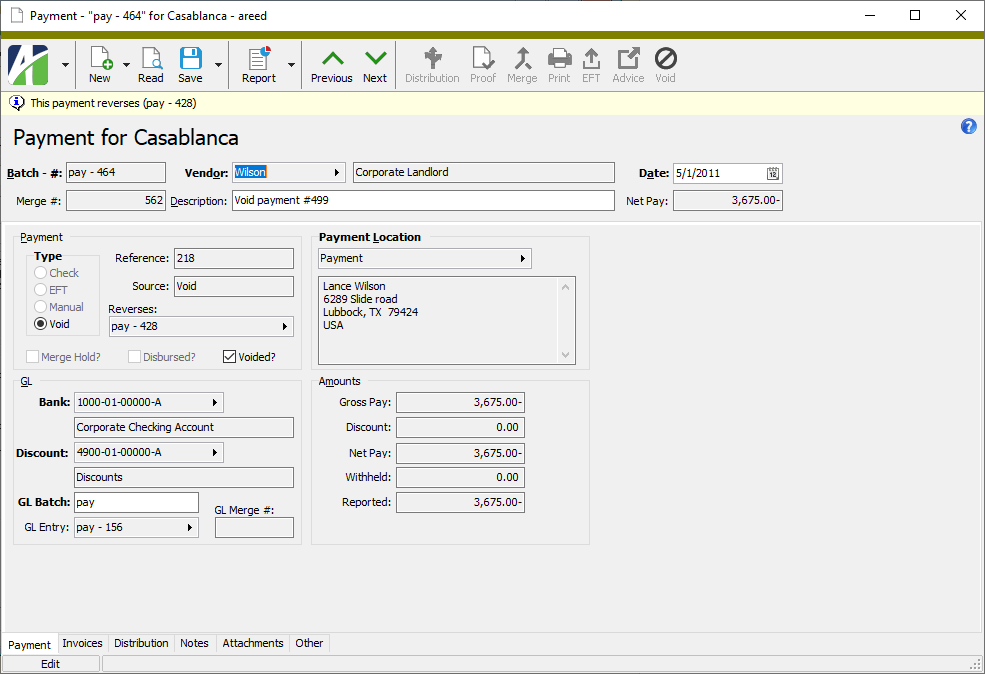
- Void. This option cannot be selected. "Activity" sets the payment type to "Void" when it reverses a payment through the Void Payments process and when the reversing payment on an original payment that has been reversed is merged.
Reference
This field is enabled if you are entering a manual payment. Enter a short reference about the manual check such as its check number.
If the payment type is "Check", this field is disabled. ActivityHD assigns a reference to system-generated checks when the payment is disbursed.
Source
The process where the payment originated.
Voided By
This field is only visible on voided payments. This field displays the batch and entry number of the reversing payment.
Press F3 to look up the value.
If a value is already selected, you can press F4 to open the record in its native editor.
Reverses
This field is only visible on reversal payments. This field displays the batch and entry number of the voided payment.
Press F3 to look up the value.
If a value is already selected, you can press F4 to open the record in its native editor.
Tax Deposit
This field is only visible on tax deposit payments. This field displays the deposit type, deposit date, and instance of the tax deposit.
Press F3 to look up the value.
If a value is already selected, you can press F4 to open the record in its native editor.
Merge Hold?
If this checkbox is marked, indicates that the payment is temporarily prevented from being merged. You can use this feature to flag payments which require further attention before being merged.
Clear the checkbox when you are ready to merge the payment.
Disbursed?
A checkmark in this checkbox for a system-generated check or an EFT payment indicates the payment has been disbursed. The checkbox is also marked for manual checks. The checkbox is system-maintained.
Voided?
A checkmark in this checkbox indicates the payment has been voided. The checkbox is system-maintained.
GL
Bank
The GL account that is credited with the net pay amount of this payment. The default account is the last GL bank account entered on a payment.
You can change the bank account as long as the GL entry has not been merged and the payment has not been disbursed.
Press F2 to open the Account Expand dialog box where you can look up an account number, find an account number by its alias, build the account number by segment, or view setup and setup sources.
Press F3 to look up the account.
If an account is already selected, you can press F4 to open the record in the Account window.
Discount
The GL account or account mask that is credited with the discount amount for the payment. If you enter an account mask, ActivityHD automatically allocates the discount amount based on the discount account mask and the invoice GL distributions. If a discount is claimed and this field is left blank, you are warned when you try to save the record; however, you can override the warning if needed. A discount account must be provided before the payment's GL entry is merged.
Press F2 to open the Account Expand dialog box where you can look up an account number, find an account number by its alias, build the account number by segment, or view setup and setup sources.
Press F3 to look up the account.
If an account is already selected, you can press F4 to open the record in the Account window.
GL Batch
The name of the GL batch to use when the payment is merged.
The GL batch name can be changed until the associated GL entry is merged. If necessary, ActivityHD will create a new GL entry and move the payment's GL postings from the old entry to the new.
GL Entry
Displays the batch and entry number of the GL entry for the payment. This field is visible after the payment is merged.
Press F3 to look up the value.
If a value is already selected, you can press F4 to open the record in its native editor.
GL Merge #
Displays the merge number for the payment's GL entry. This field is visible after the payment is merged.
Payment Location
Location
The payment location where the payment should be remitted. The default vendor payment location is the vendor's default payment location.
After you select the payment location, the address displays in the text box below this field. In addition, if this is an EFT or EFT Canada payment, the text box shows routing information for the bank associated with the payment location.
Press F3 to look up the value.
If a value is already selected, you can press F4 to open the record in its native editor.
Amounts
Gross Pay
Displays the total payment amount to be applied to invoices. Negative amounts are possible.
Discount
Displays the total discount claimed on the payment. Negative amounts are possible.
Net Pay
Displays the net payment to be made to the vendor. ActivityHD uses the following formula to calculate the net payment:
Net Pay = Gross Pay - Discount - Withholding
Negative amounts are possible.
Withheld
Displays the total amount withheld from the payment. This amount is based on the APCodes with a type of "Payment Withholding" that are assigned on the payment. Negative amounts are possible.
Reported
Displays the amount of the payment reported to tax entities. This amount is based on the APCodes with a type of "Payment Reporting" that are assigned on the payment. Negative amounts are possible.
Detail tab
Payment Detail table
This table displays the invoices that are selected for payment.
Line
The line number the entry occupies in the table. You can change the line number to reorder the detail lines in the table. If you reorder these lines, the lines in the APCodes and GL Detail tables are reordered as well.
Invoice
The batch name and entry number that uniquely identify the invoice.
Press F3 to look up the value.
If a value is already selected, you can press F4 to open the record in its native editor.
Invoice #
The invoice number.
PO #
The purchase order number associated with the invoice, if one.
Due Date
The date that payment on the invoice is due.
Balance
The balance that remains on the invoice after the amount in the Gross Pay column is applied.
Gross Pay
When you select an invoice for payment, this column defaults to the unpaid balance on the invoice. To pay the full amount, accept this entry; otherwise, enter the amount to pay on the invoice. When the payment is merged, the balance on the invoice is reduced by the gross pay amount and the AP account for the invoice is credited with the gross pay amount. This field is disabled after the payment is merged.
Discount
When you select an invoice for payment or change the gross pay amount, this column defaults to the maximum discount allowed based on the payment amount, payment date, and the invoice discount dates. If you need to change the discount amount, enter the actual amount of discount you are claiming against this invoice. This field is disabled after the payment is merged.
Net Pay
The amount of the payment that will be sent to the vendor.
Withheld
The amount of the payment that will be withheld for taxes. This amount is based on the APCodes with a type of "Payment Withholding" that are assigned to the payment. ActivityHD automatically credits the specified liability account to record the amount owed to the tax entity.
Reported
The amount of the payment that will be reported to the tax entity. This amount is based on the APCodes with a type of "Payment Reporting" that are assigned to the payment.
APCodes table
The entries in this table come from the APCode detail lines on the APCode distributions of the invoices selected for payment. If the information on the invoices is correct and complete, you will not need to make modifications in this table. However, you can insert, delete, or change detail lines as needed in order to record the appropriate APCode detail. If a withholding-type APCode is included in the table and the payment has been merged, all fields in the corresponding row are disabled.
Line
The line number the entry occupies in the table.
Pay Line
The line in the Payment Detail table that contains the invoice associated with this APCode line.
Invoice
The batch name and entry number that uniquely identify the invoice associated with the APCode.
APCode
An APCode to use to generate detail for the invoice.
Press F3 to look up the value.
If a value is already selected, you can press F4 to open the record in its native editor.
Description
Displays the description of the selected APCode.
Type
Displays the APCode type. Valid types are:
- Use Tax
- Payment Reporting
- Payment Withholding
Basis
The portion of the invoice amount that is subject to the APCode. The default amount is the invoice total.
Percent
The APCode's percentage rate as of the invoice date.
Amount
The calculated APCode amount: Basis * Rate.
Memo
Additional information about the APCode on the corresponding row.
GL Detail table
The table shows the GL detail lines for the payment distribution.
Line
The line number the entry occupies in the table.
Pay Line
The line number from the Payment Detail table that contains the invoice associated with this part of the payment distribution.
Invoice
The batch name and entry number that uniquely identify the invoice associated with the GL detail line.
Source
The source of the GL detail line. Valid values include "Invoice", "Net Pay", "Discount", and "Withheld".
Account
The account that will receive the posting. You cannot change an account on sourced lines in this table. To change the account on the Net Pay line of a payment, change the account in the Bank field on the Payment tab. To change the account on the Invoice line of a payment, you must change the account that is credited for that invoice line in the GL Detail table for the invoice.
Note
Accounts in the GL Detail table can contain "invalid" account masks. This can occur when the payment's wildcard discount account mask produces an invalid account when applied to an invoice distribution account. Also, an invalid account mask can be entered directly in the table when entering a manual GL detail line.
Press F2 to open the Account Expand dialog box where you can look up an account number, find an account number by its alias, build the account number by segment, or view setup and setup sources.
Press F3 to look up the account.
If an account is already selected, you can press F4 to open the record in the Account window.
Description
The description of the posting account.
Debit
The amount to debit from the account. ActivityHD calculates the amount based on entries in the Detail tab. To change the debit amount, adjust the gross pay amount in the Payment Detail table.
Credit
The amount to credit to the account. ActivityHD calculates the amount based on entries in the Detail tab. To change the credit amount, adjust the gross pay amount in the Payment Detail table.
UOM
The unit of measure on the posting account.
Note
ActivityHD requires all GL detail lines for a payment to be in balance by unit of measure, period, and balancing entity.
Description
A description of the GL detail line.
Memo
Any additional text about the GL detail line. Consider using this column to document any anomalies for unusual distributions.
Entry Totals button
Click this button to open the Balancing for Payment popup where you can view required balancing information.
Custom tab
This tab is visible if custom fields exist for the entity. At a minimum, if there are custom fields, a Fields subtab will be present. One or more additional categories of subtabs may also be visible.
Fields subtab
This tab prompts for values for any custom fields set up for entity records of this entity type. Respond to the prompts as appropriate.
References subtab
This tab is visible if other records reference the current record.
Reference
From the drop-down list, select the custom field to view references for. Reference custom fields have the following format: PackageName.EntityName.CustomFieldName.
Example
Suppose a custom field exists on PRCodes that references an ARCode. On the ARCode record, on the Custom > References subtab, you can view all the PRCodes which reference that ARCode.
Exchange Folder subtab
This tab is visible only if you set up a custom field with a data type of "Exchange Folder". The label on this tab is the name assigned to the custom field.
This tab shows the contents of the specified Exchange folder.
File subtab
This tab is visible only if you set up a custom field with a data type of "File". The label on the tab is the name assigned to the custom field.
This tab renders the contents of the specified file according to its file type.
Internet Address subtab
This tab is visible only if you set up a custom field with a data type of "Internet Address". The label on this tab is the name assigned to the custom field.
This tab shows the contents of the specified web page.
Network Folder subtab
This tab is visible only if you set up a custom field with a data type of "Network Folder". The label on this tab is the name assigned to the custom field.
This tab shows the contents of the specified network folder.
Notes tab
The Notes pane shows the Notes HD view filtered to show all notes for the selected payment.
Double-click a row in the pane to drill down to its record in the Note window.
PR Check Lines tab
This tab is visible only if the Payroll to AP interface is enabled and one or more of the AP invoices selected for payment was posted from Payroll. Use this tab to research payroll taxes and deductions.
The PR Check Lines pane shows the Check Lines HD view filtered to show all payroll check lines represented on the selected payment.
Double-click a row in the pane to drill down to its record in the Check Line window.
The Attachments tab is visible if any record for a given entity has an attachment. If the Attachments tab is not visible, this implies that no record of the entity type has an attachment on it; however, once an attachment is added to any record of the entity type, the Attachments tab will become available.
Attachments
The list box shows the files which are attached to the current record. Highlight a file name to preview the file in the adjacent pane. Double-click a file name to open the file in its native editor.
Preview pane
If a file name is highlighted in the Attachments list box, this pane shows a preview of the file contents. Some file types cannot be previewed but can be double-clicked to open in their native editor.
Change Logs tab
This tab is visible if the user has "Change Logs" access to the associated data folder resource.
The Change Logs pane shows the Change Logs HD view filtered to show all change logs for the selected entity record.
Double-click a row in the pane to drill down to its record in the Change Log window.
Other tab
Memo tab
To include additional information about this record not collected elsewhere, enter it in this text box. This area supports common keyboard shortcuts such as Ctrl+C to copy and Ctrl+V to paste.
Timestamps tab
This tab shows the user who created this record and the date and time of creation as well as the user, date, and time of the latest modification to the record.
Developer tab
This tab is visible only when developer features are enabled.
Automation subtab
This subtab shows field names and values for the current data record. Use the information in the subtab to assist when creating automation objects such as bots and import files. The field names and field values can be copied from the text box and pasted directly into your code or application. To copy content from the text box, highlight the content to copy and press Ctrl+C or right-click your selection and select Copy from the context menu.
Export (XML | JSON) subtab
This subtab shows the XML syntax for exporting the selected data record. The syntax can be copied from the text box as an exemplar for creating your own automation objects for bots, import files, ActivWebAPI, etc. To copy content from the text box, highlight the content to copy and press Ctrl+C or right-click your selection and select Copy from the context menu.
Import (XML | JSON) subtab
This subtab allows you to select a file for import and shows the XML syntax for importing data records. Use the subtab to explore the XML syntax for importing data records. In particular, you can investigate the syntax which results when using Data.Import and ActivWebAPI data POST and DELETE routes.
Change Log (XML | JSON) subtab
This subtab is visible only when the Enable Change Logs option is marked in System Options or Company Options (depending on whether the feature applies at the system or the company level). This is the default setting when developer features are enabled.
This subtab allows you to investigate changes to the current data record. The syntax can be copied for use in bots, dashboards, ActivWebAPI, and other automation. To copy content from the text box, highlight the content to copy and press Ctrl+C or right-click your selection and select Copy from the context menu.
Select Statement (SQL) subtab
This subtab allows you to investigate the SQL select statement used to retrieve the current data record. The syntax can be copied as an exemplar for data sources and other automation. To copy content from the text box, highlight the content to copy and press Ctrl+C or right-click your selection and select Copy from the context menu.
 .
. Enter payments
 . The New Payment window opens.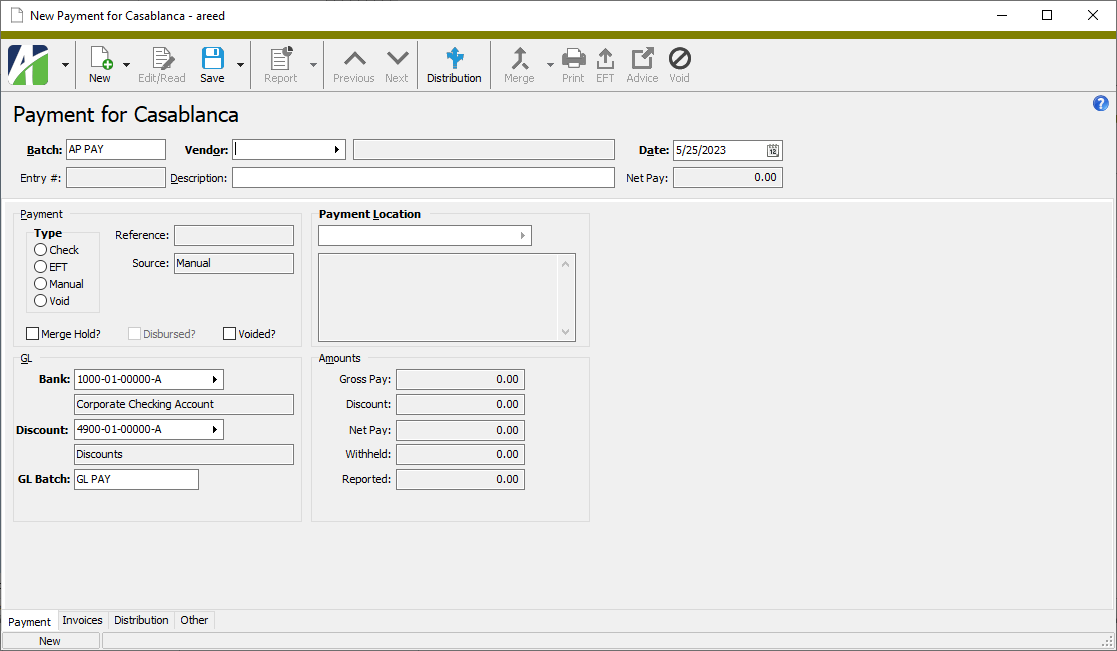
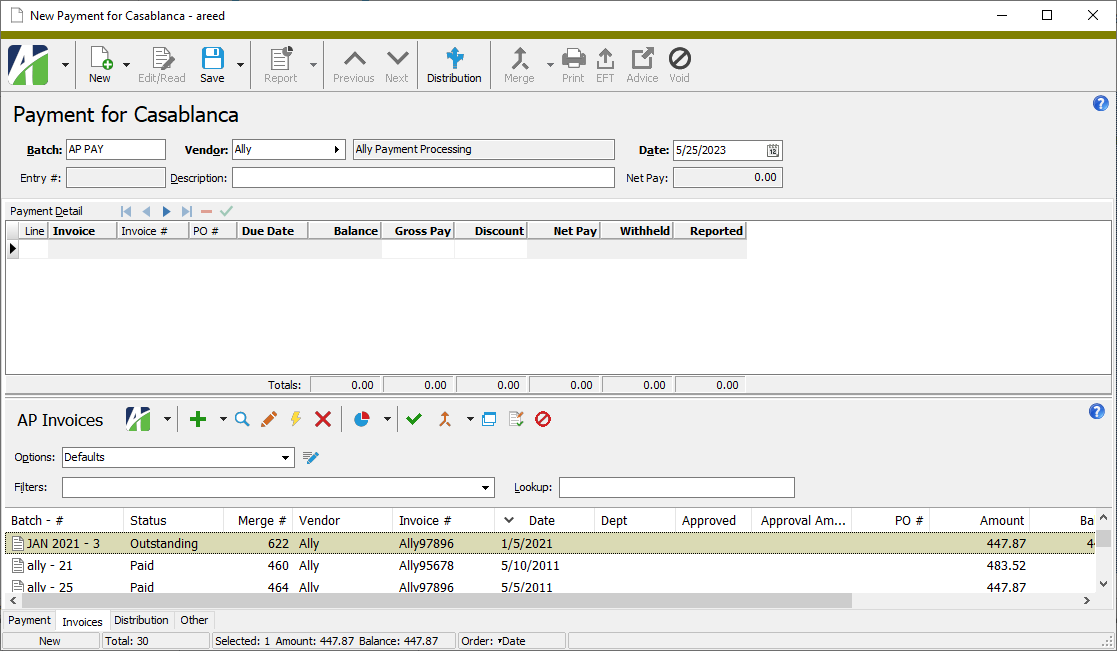
 > Edit > Pay from the menu or press Ctrl+P to open the Find dialog in multi-select mode. Select the invoices to pay and click OK.
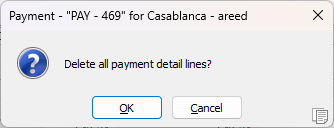
 . You are prompted to confirm that you want to delete the row.
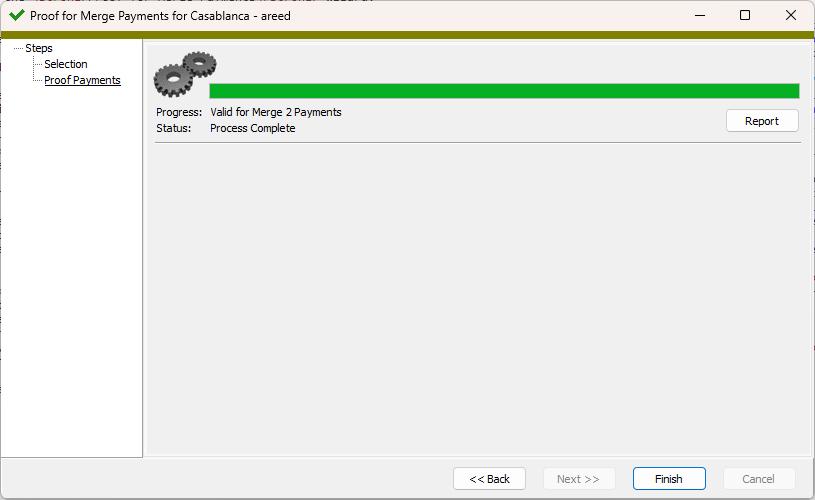
 , or open the payment and select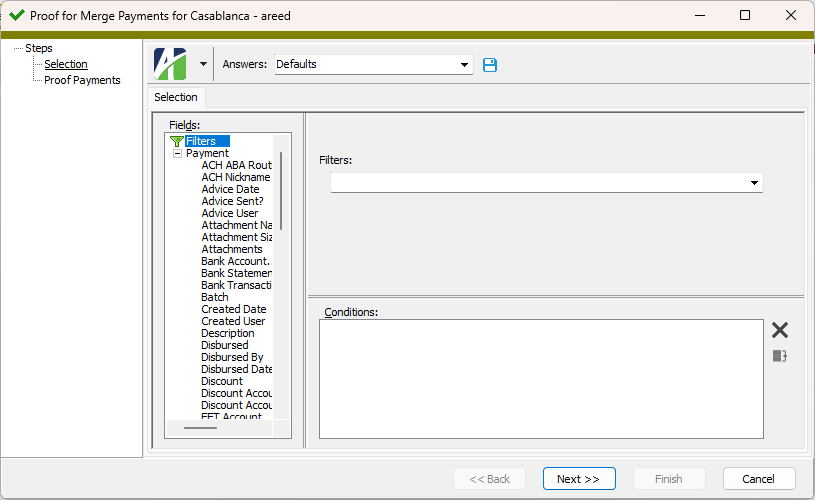
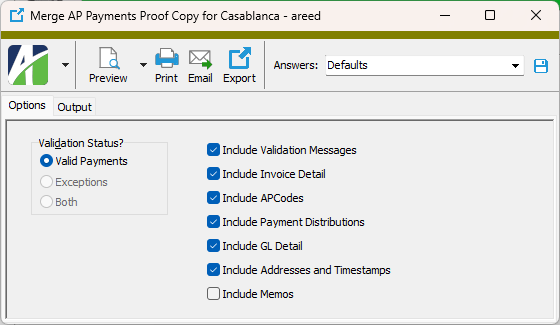
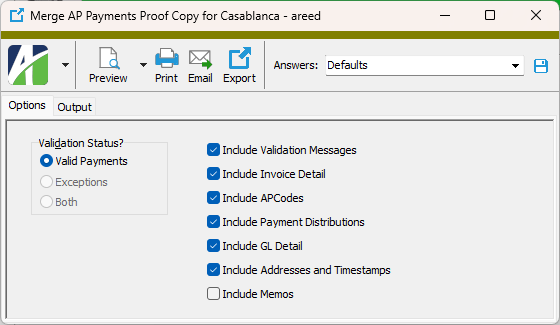
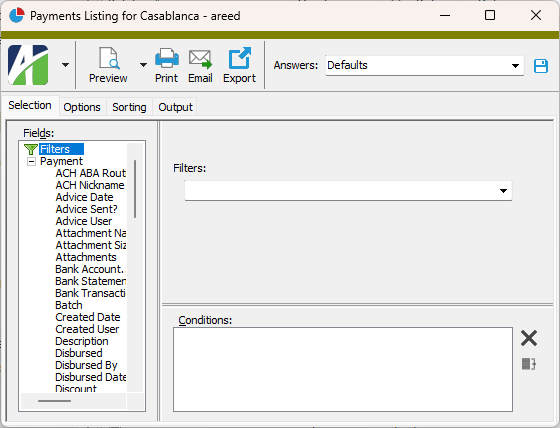
 - Provides access to two preview options.
 - Opens the Print dialog so that you can select and configure a printer and then print a paper copy of the report.
 - Opens the
  - Opens a drop-down menu with two export options: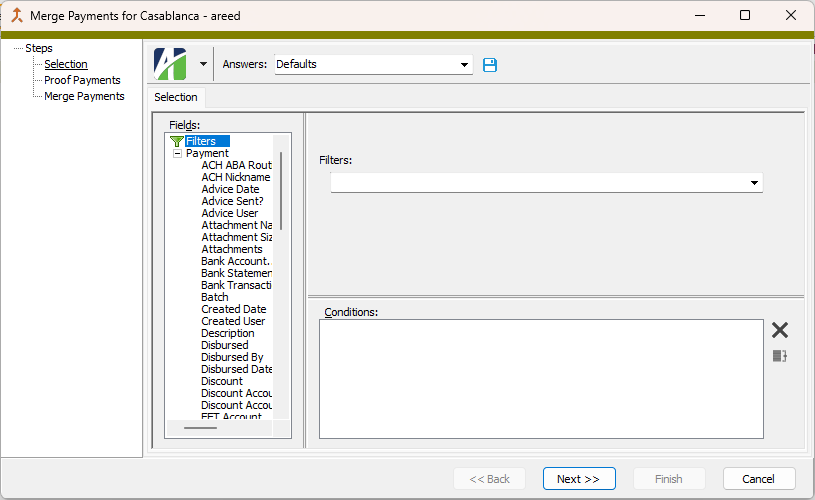
 .
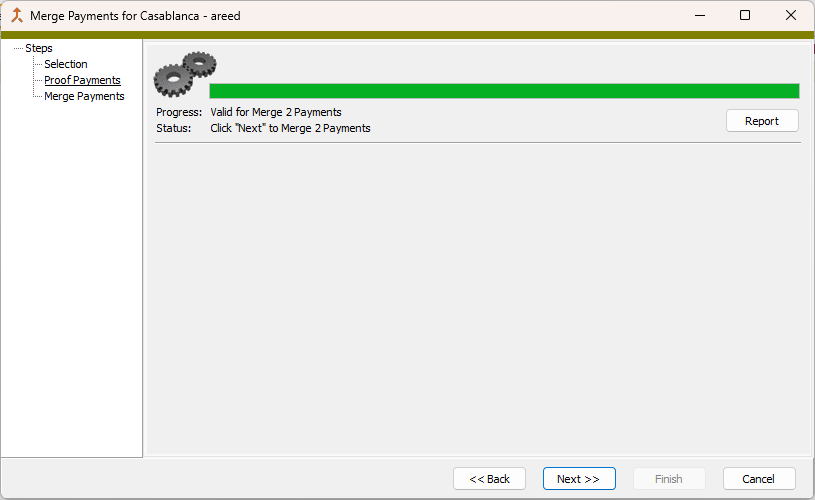
.
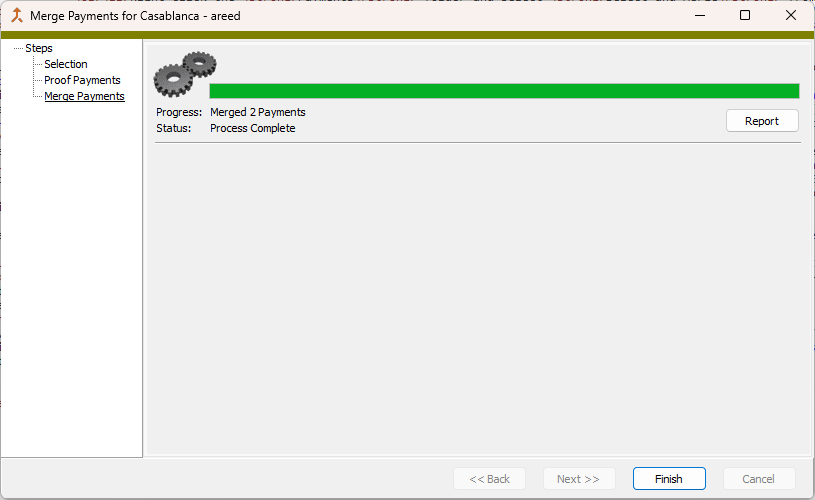
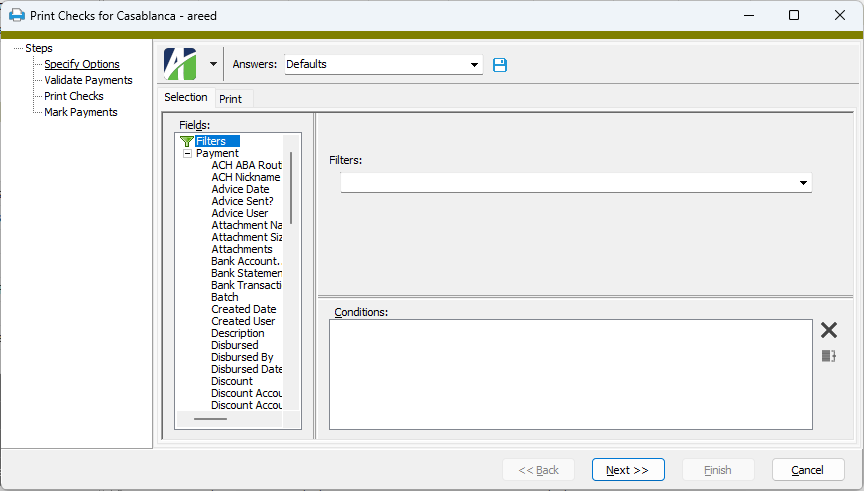
 .
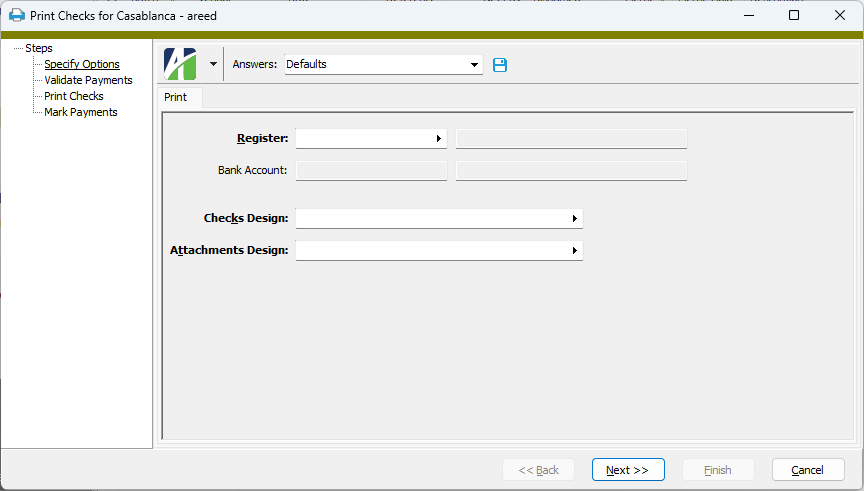
.
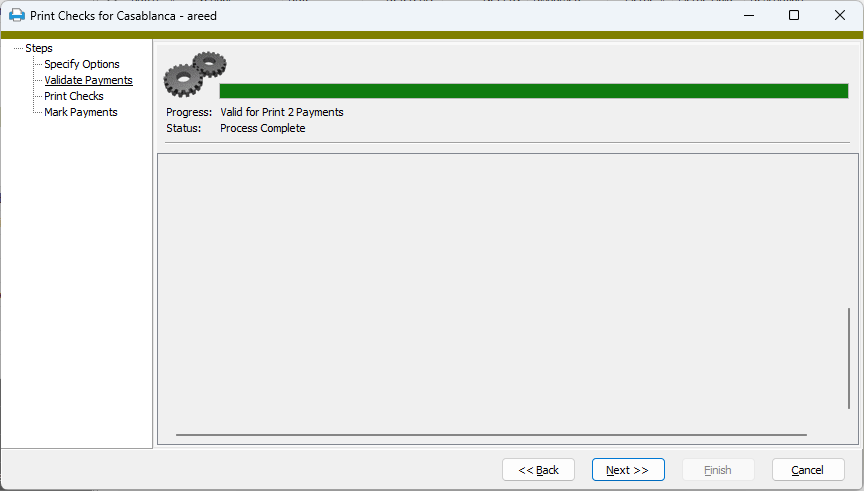
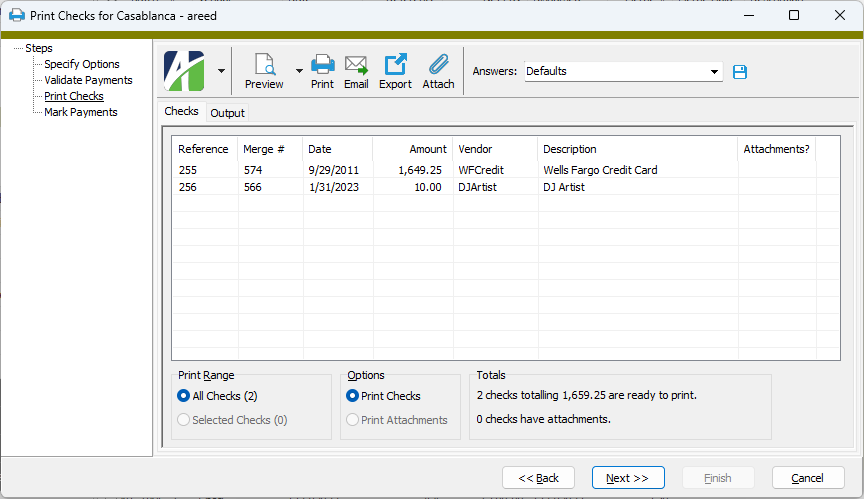

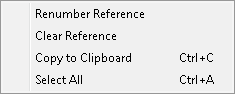
 - Attaches a copy of each check to its payment record.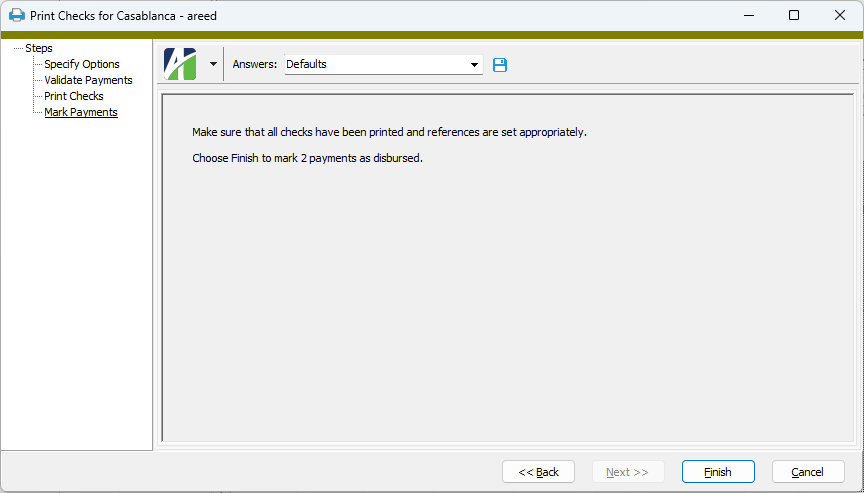
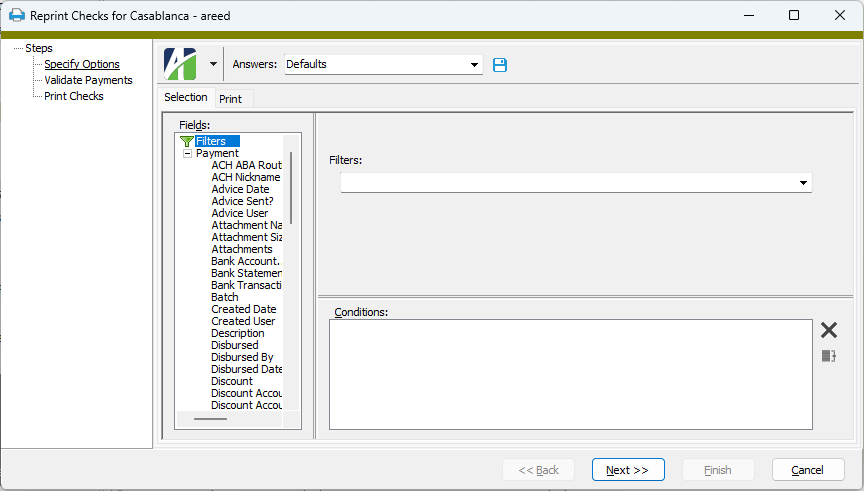
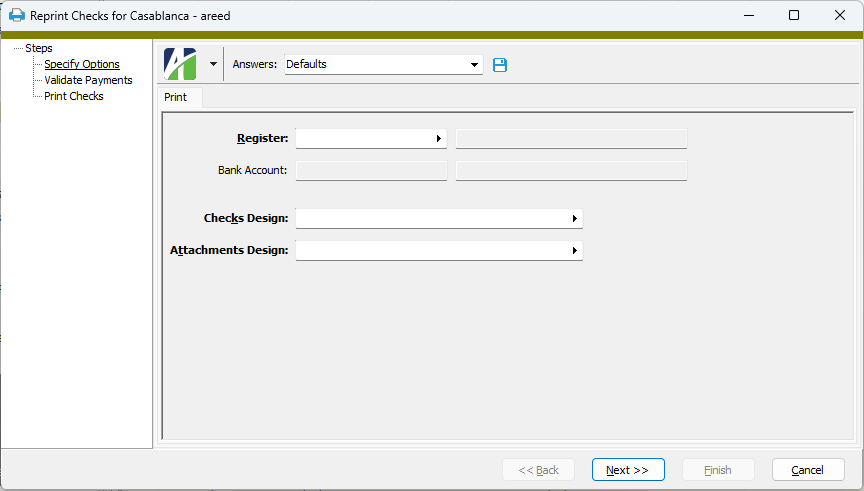
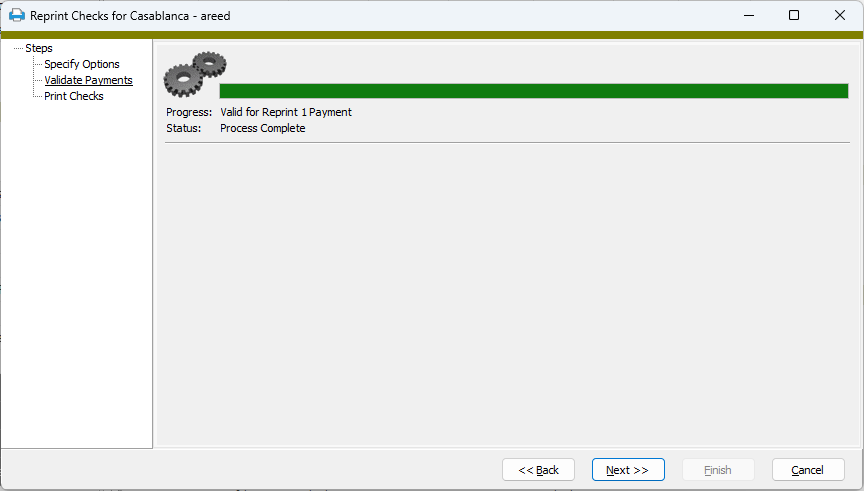
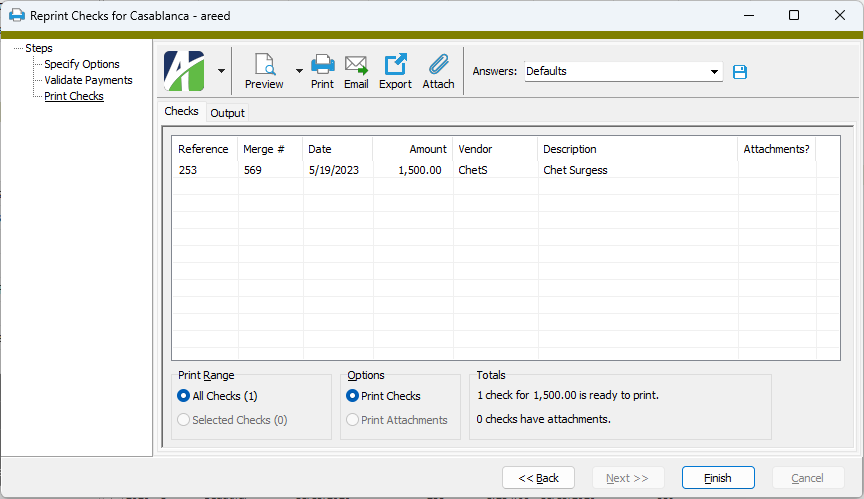
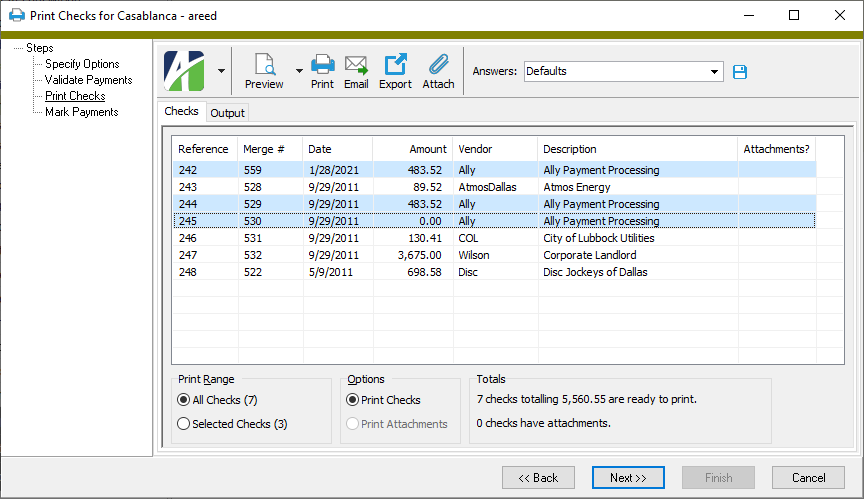
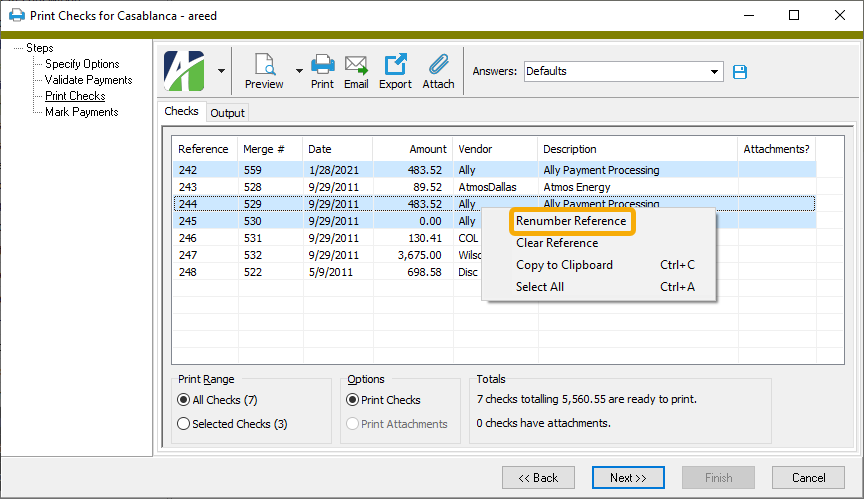
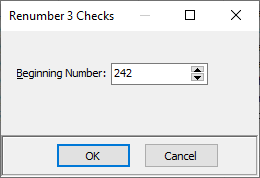
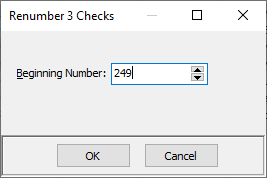
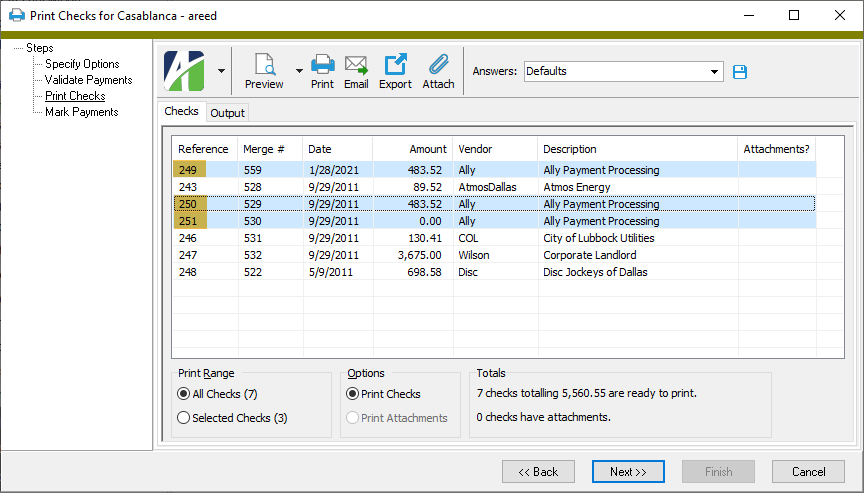
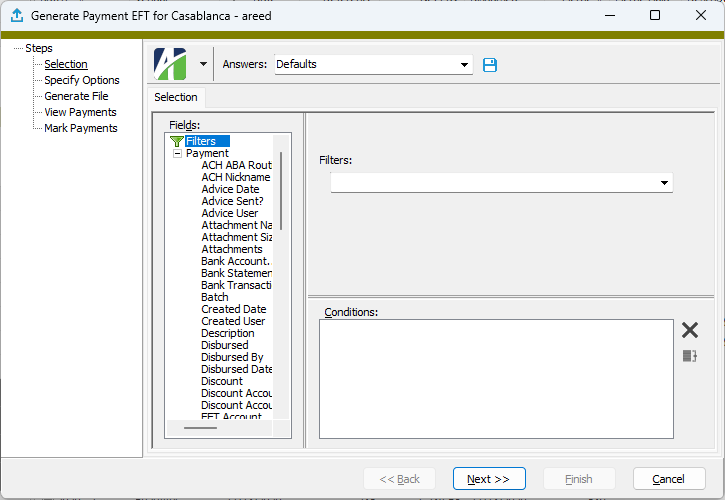
 .
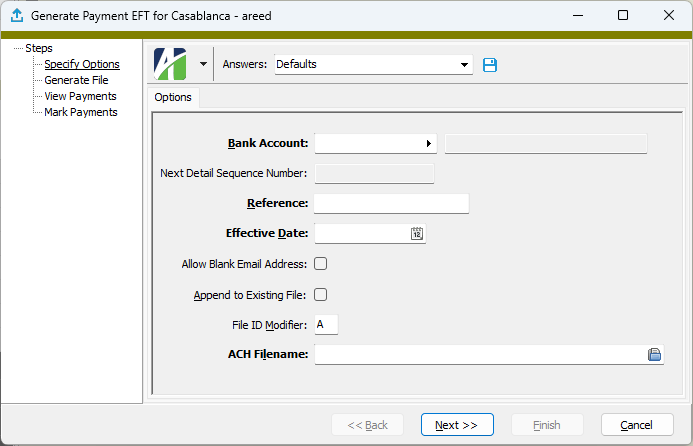
.
 to browse to the location.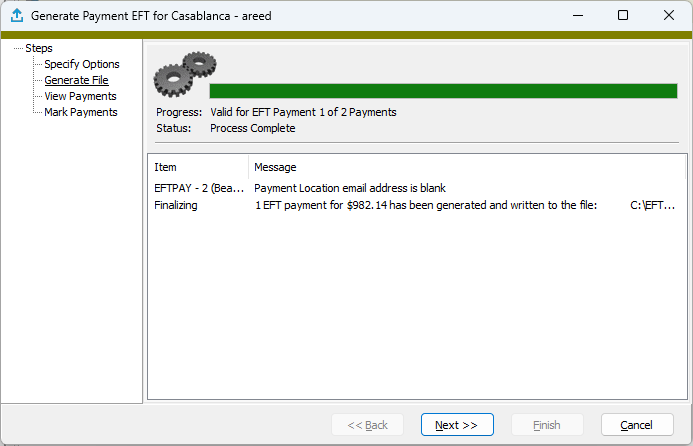
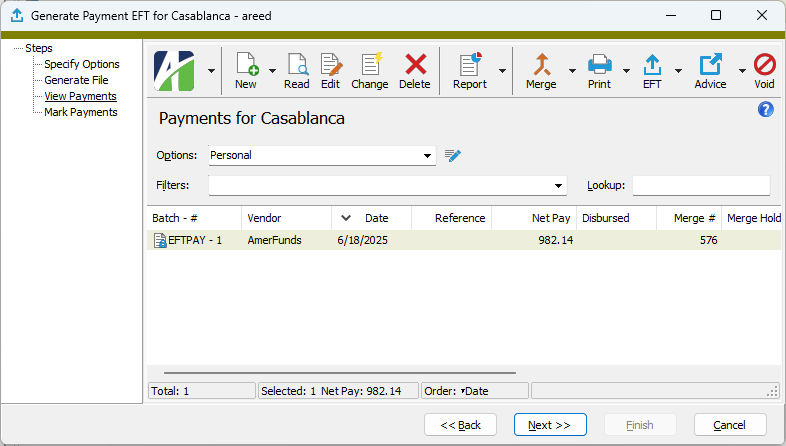
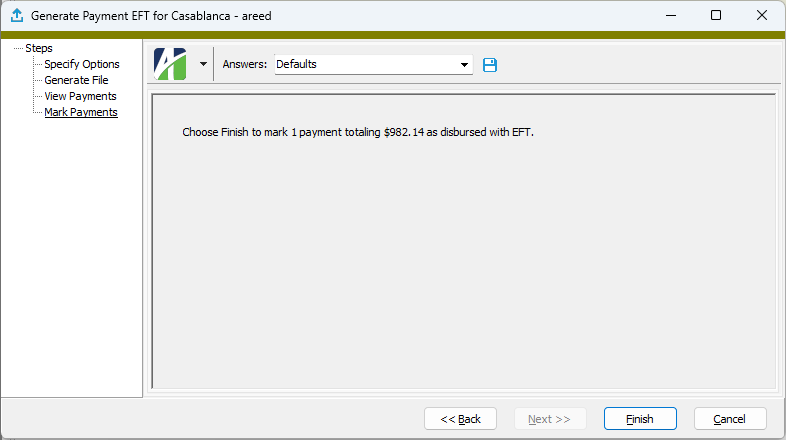
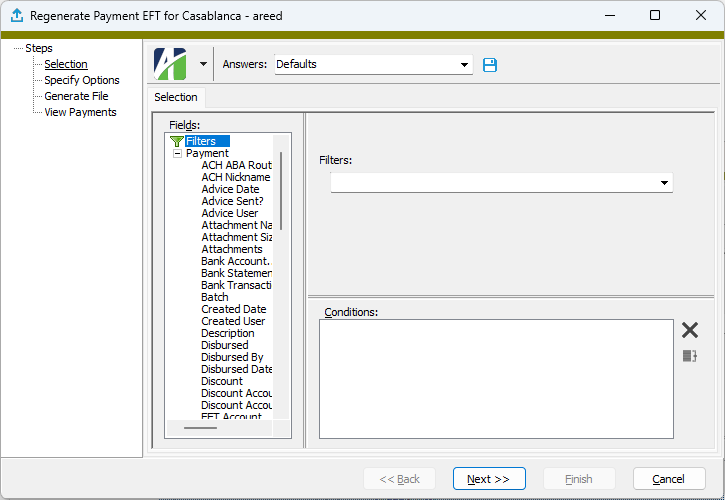
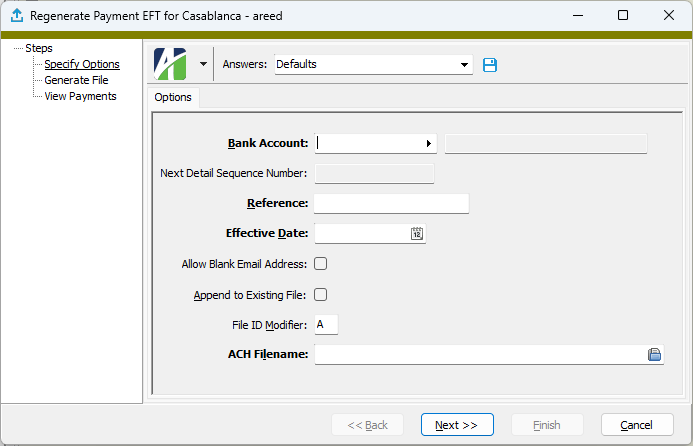
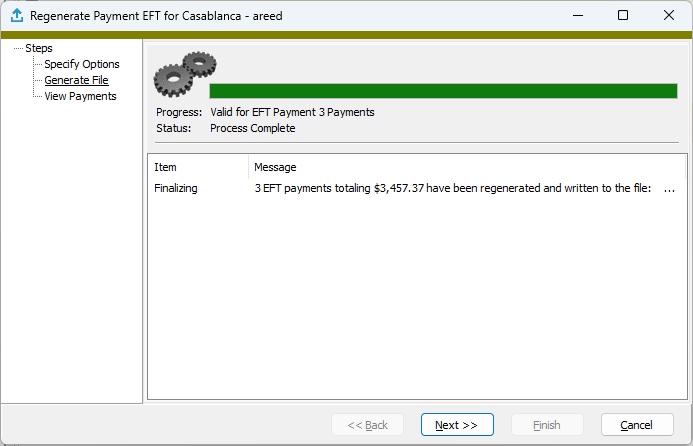
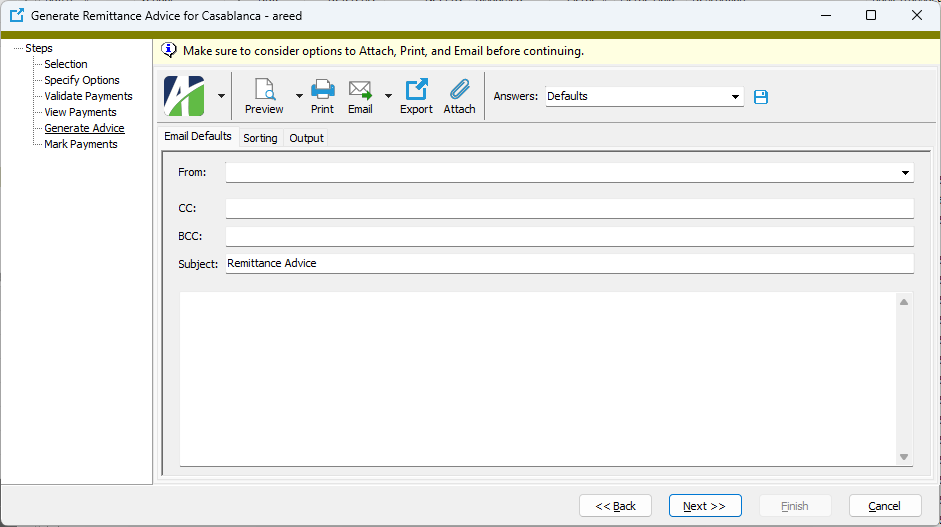
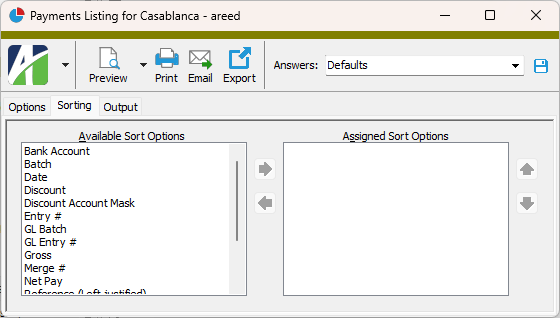
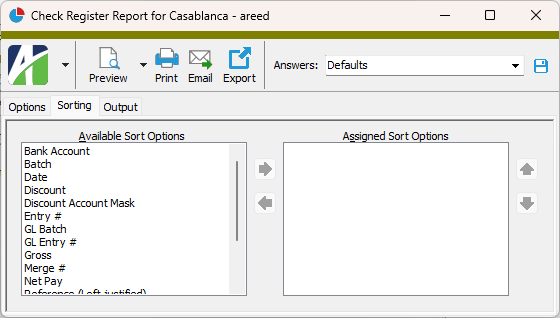
 to move your selection(s) to the Assigned Sort Options list box.
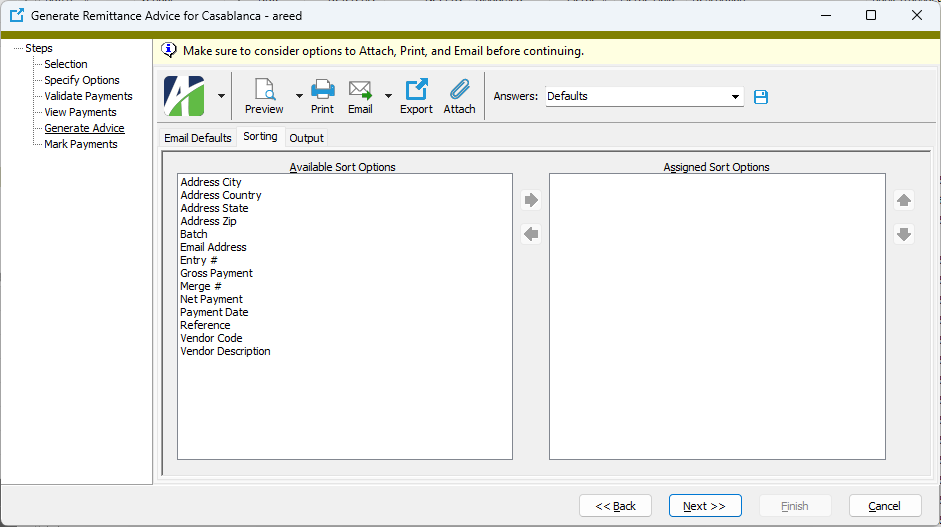
 and
and  to arrange the sort fields in the order you want them applied.
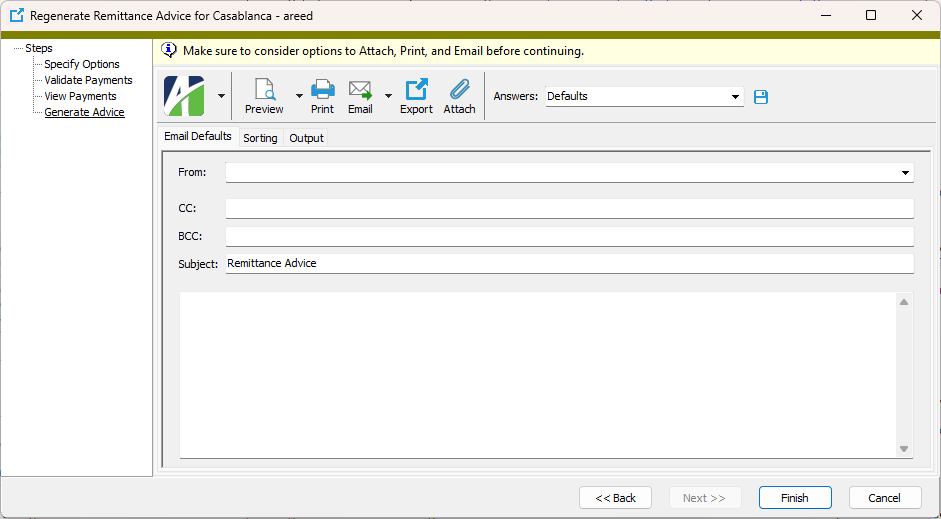
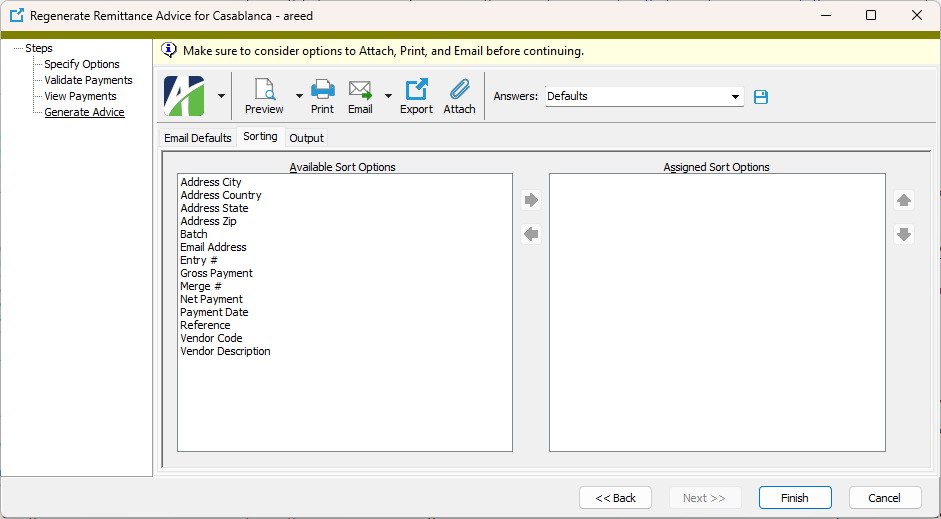
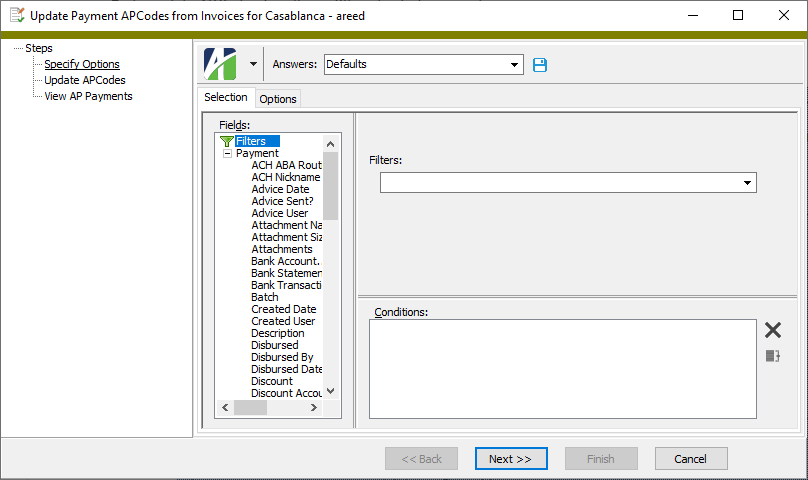
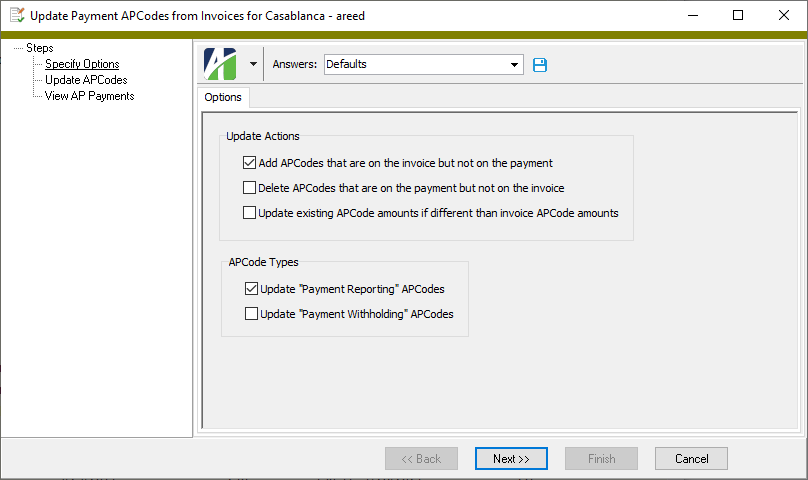
 .
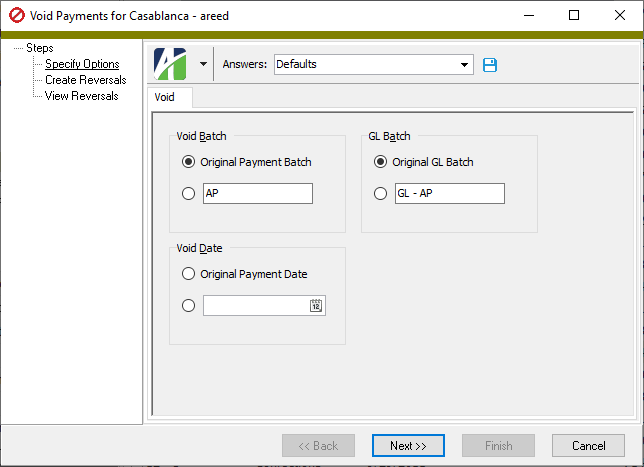
.
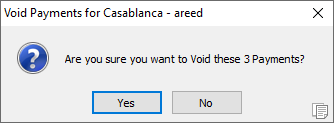
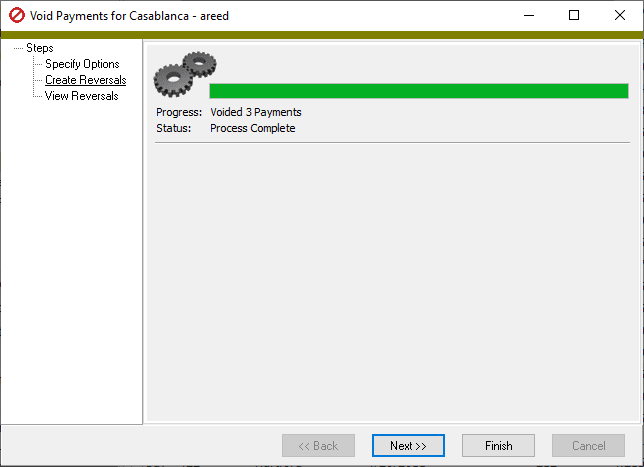
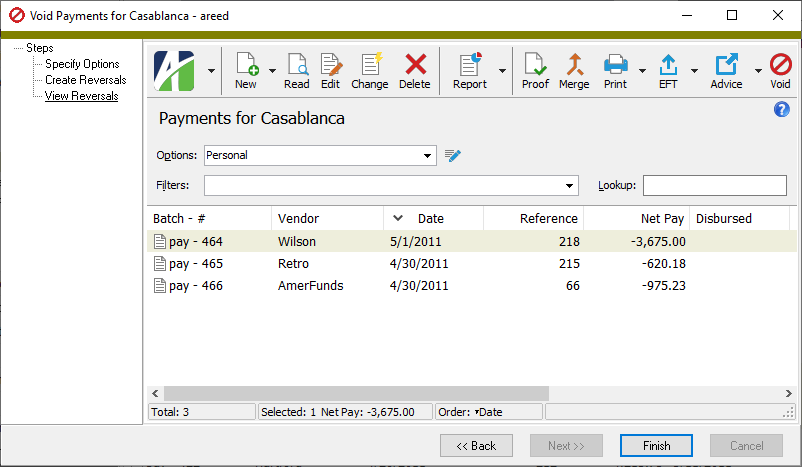
 .
.